I'm embarrassed to say how much $$$
Please chime in if you have some words of wisdom for me or would like to share your own stories of brewing system ingenuity. I will keep you posted..
Moderator: slothrob

Yeah, I agree with you. Hands on brewing brings a lot of satisfaction. I've made great beer with my gravity fed system and the hands-on nature of my three tier is something that I am trying to preserve with this upgrade.bobcat_brewer wrote:Good luck Jeff. I'm still enjoying my gravity feed system. I've investigated building/purchasing a more automated system, but I really like the hands on I get out of my cheap, hand built gravity system.
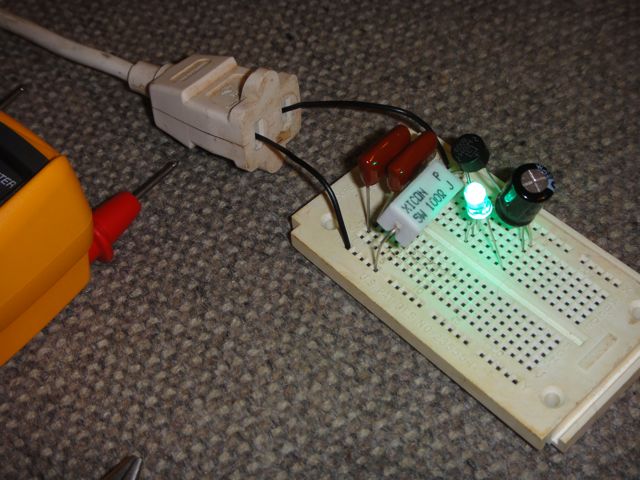
At first, I figured you were joking; but I guess you are totally serious? Hard to tell without the benefit of facial expression and voice inflectionjawbox wrote:Will be powered by a BCS controller, hopes are I can have my strike water ready for me once I get home from work.
I talked to a brewer that used an electric bucket heater on a timer to start heating his strike water at 4-5 am. By the time he got up and made his coffee, an hour or two later, his water would be near strike temperature and he could mash in.jeff wrote:At first, I figured you were joking; but I guess you are totally serious? Hard to tell without the benefit of facial expression and voice inflectionjawbox wrote:Will be powered by a BCS controller, hopes are I can have my strike water ready for me once I get home from work.If coffee makers can do it I suppose beer makers can too! Keep us posted.